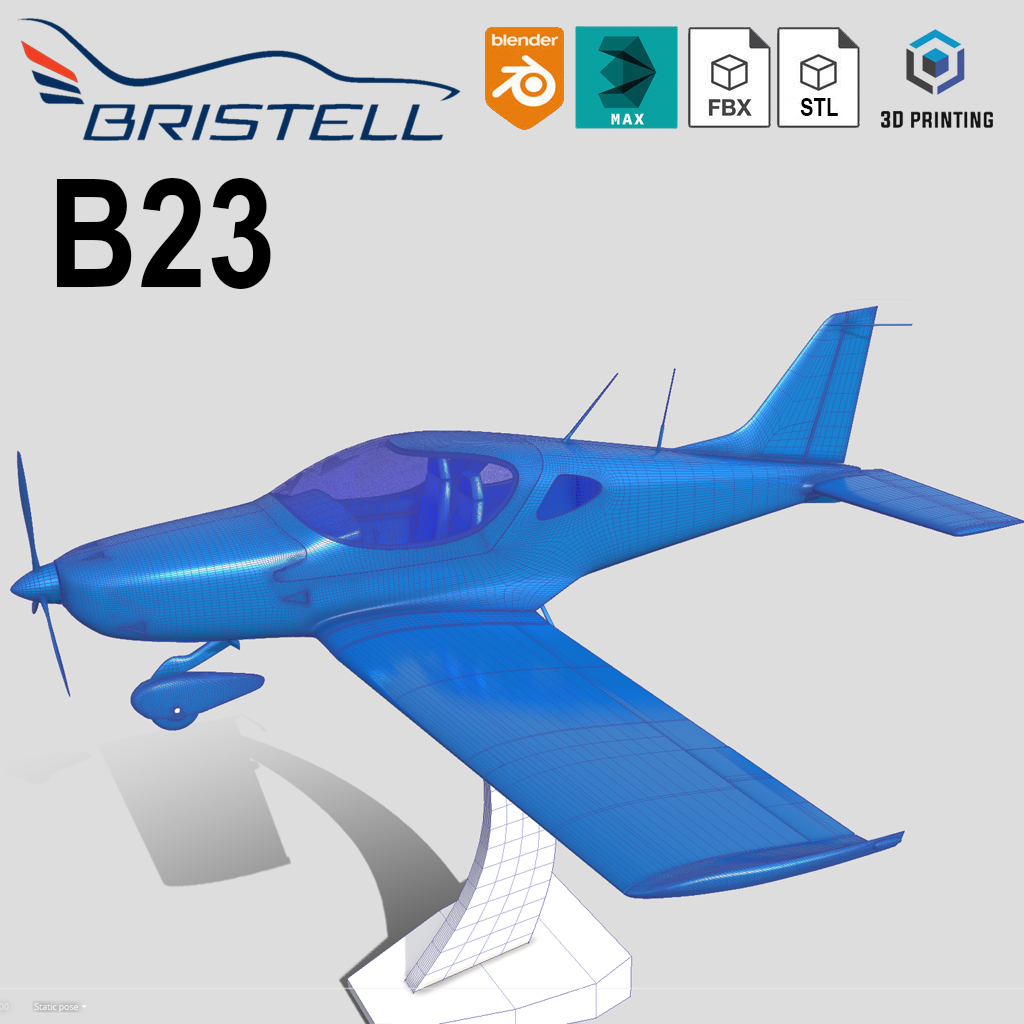
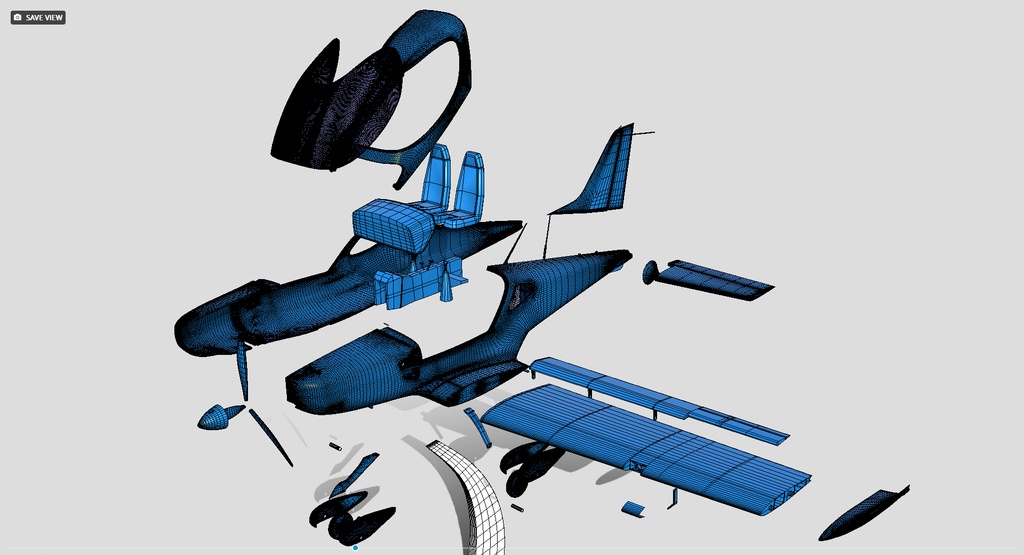
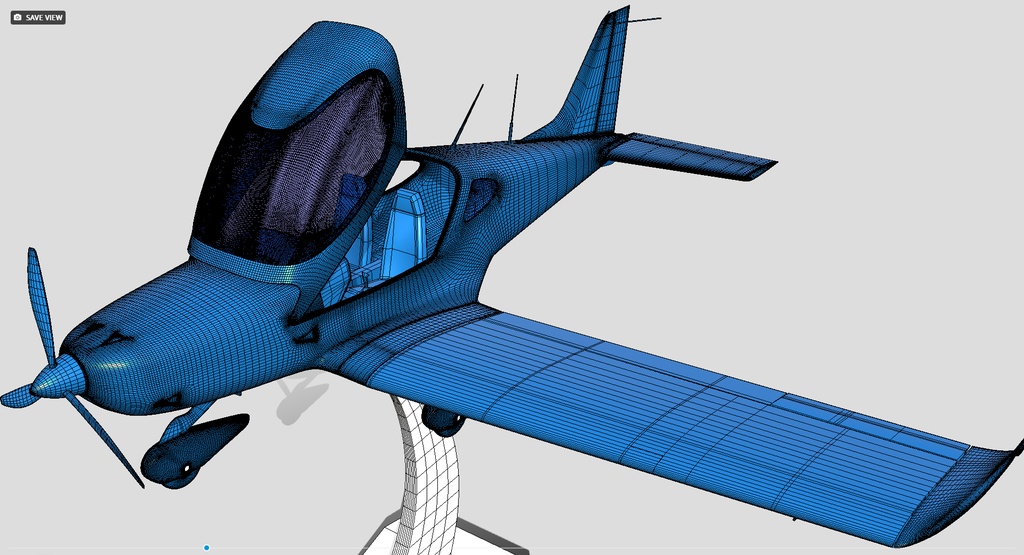
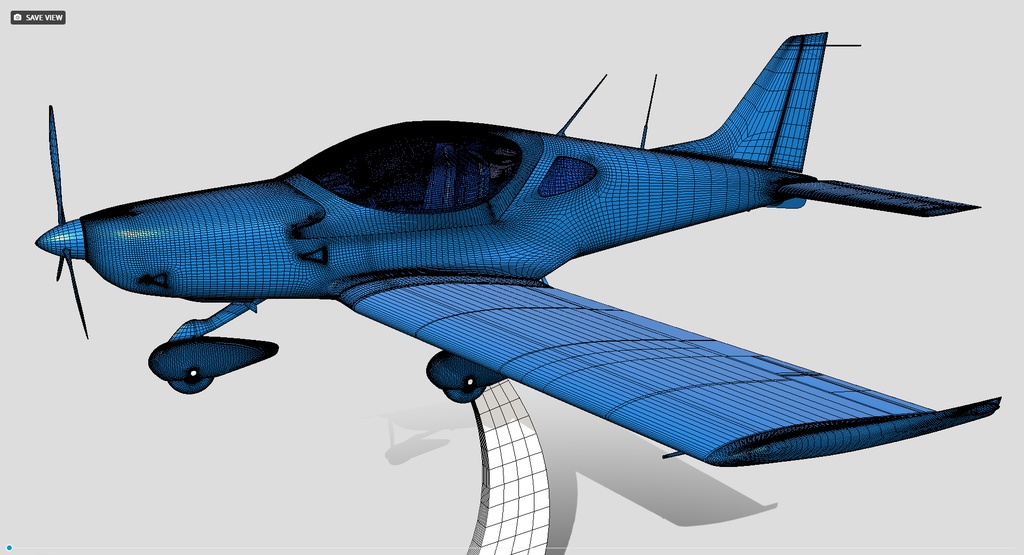
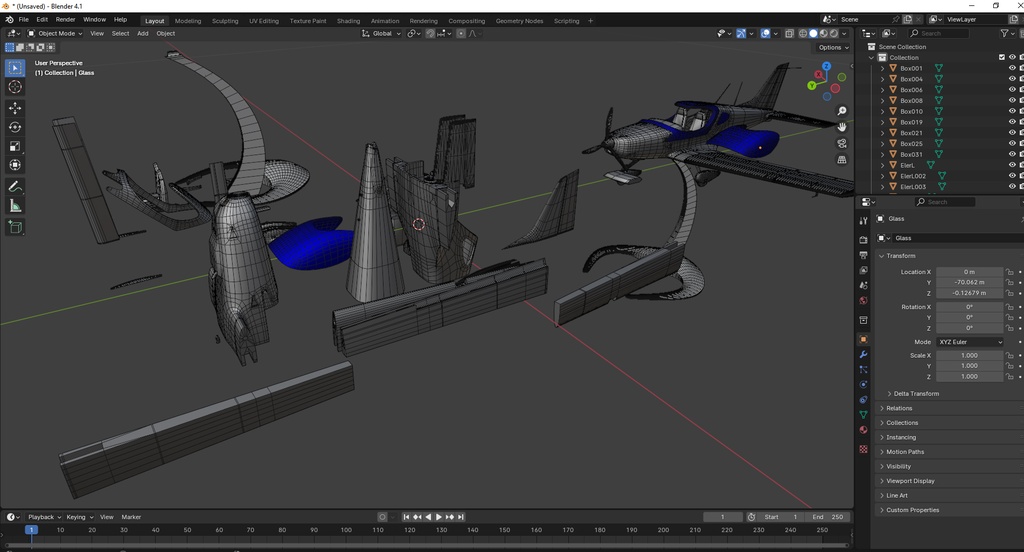
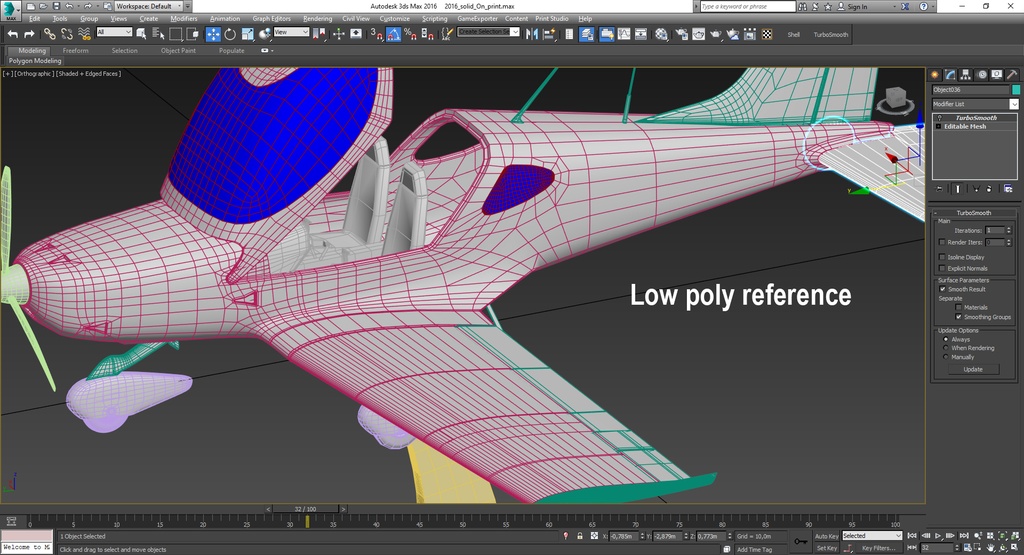
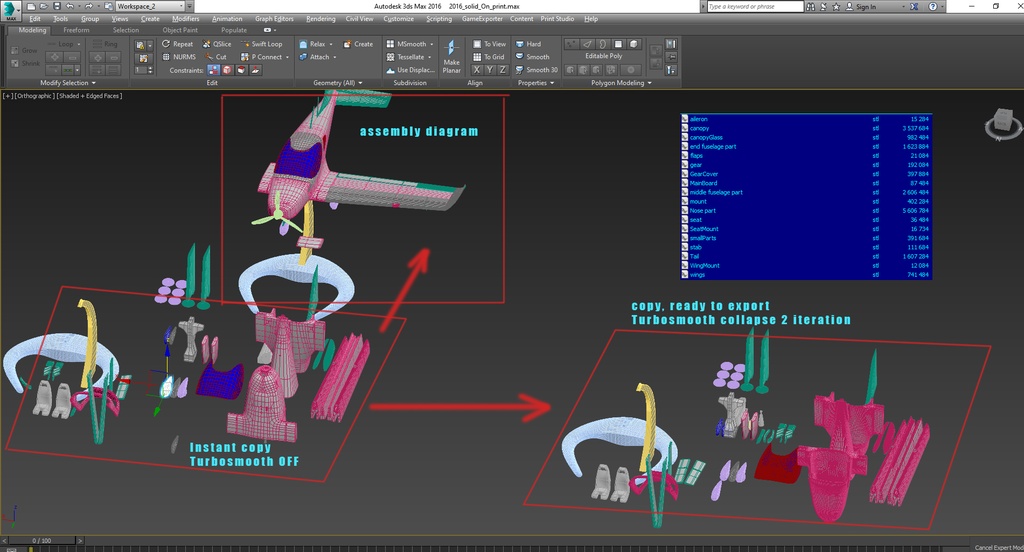
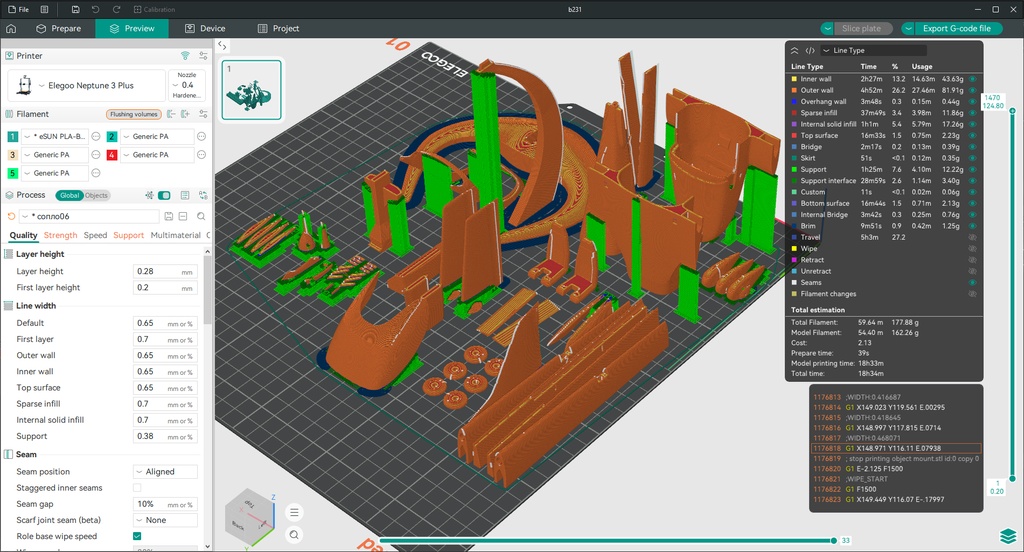
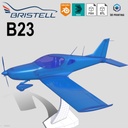
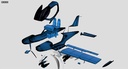
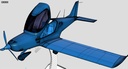
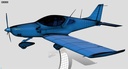
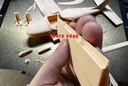
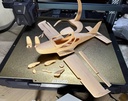
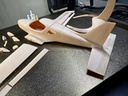
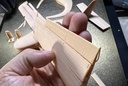
The pack contains separate print-ready STL files.
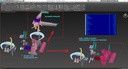
The Max 2016 file contains a print-ready parts layout with the Turbosmooth modifier and a model of the assembled aircraft.
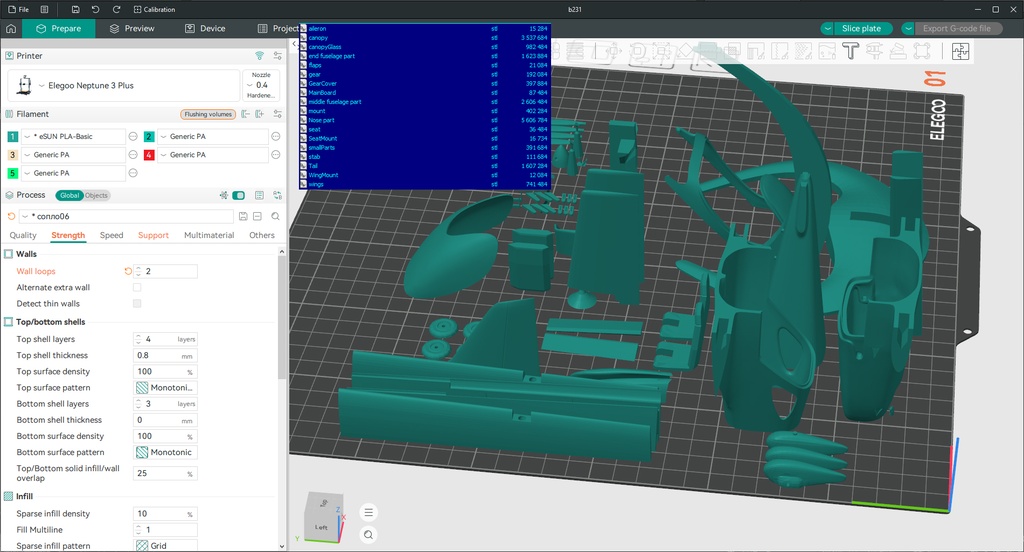
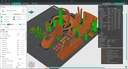
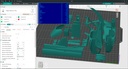
The 3MF file contains all elements for the Orca slicer.
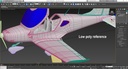
The original model partsthe fuselage, vertical stabilizer, and landing gear fairingsare presented in low-poly format for possible modification.
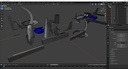
The Blender file contains only the scene, without antialiasing, for possible modification. Keep in mind that antialiasing in 3D Max and Blender works differently.
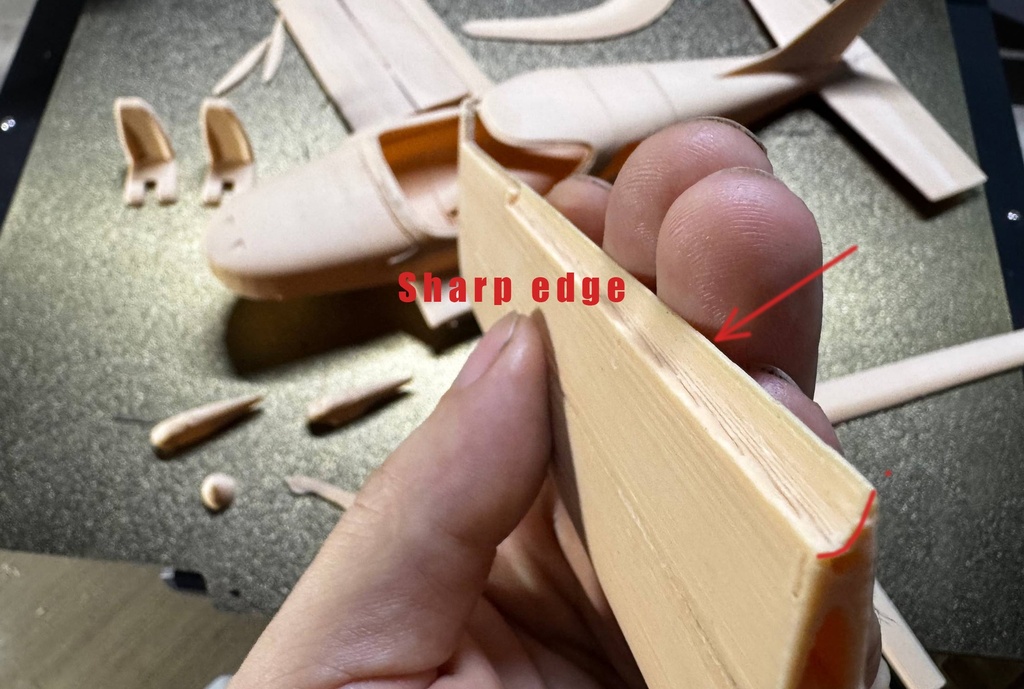
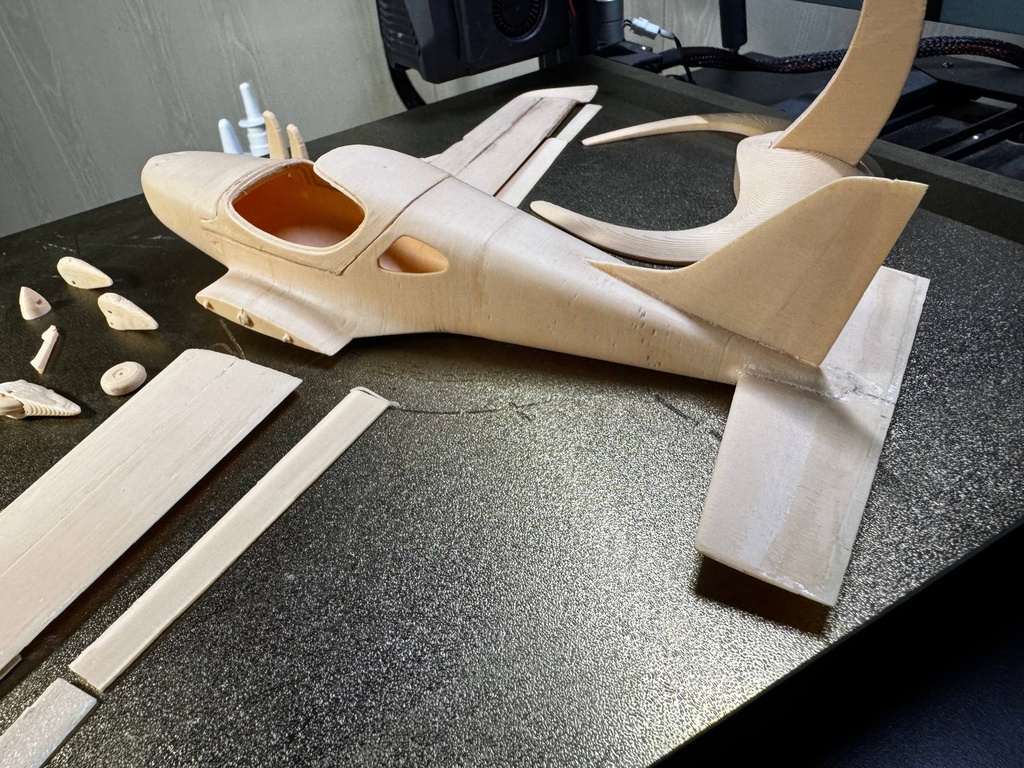
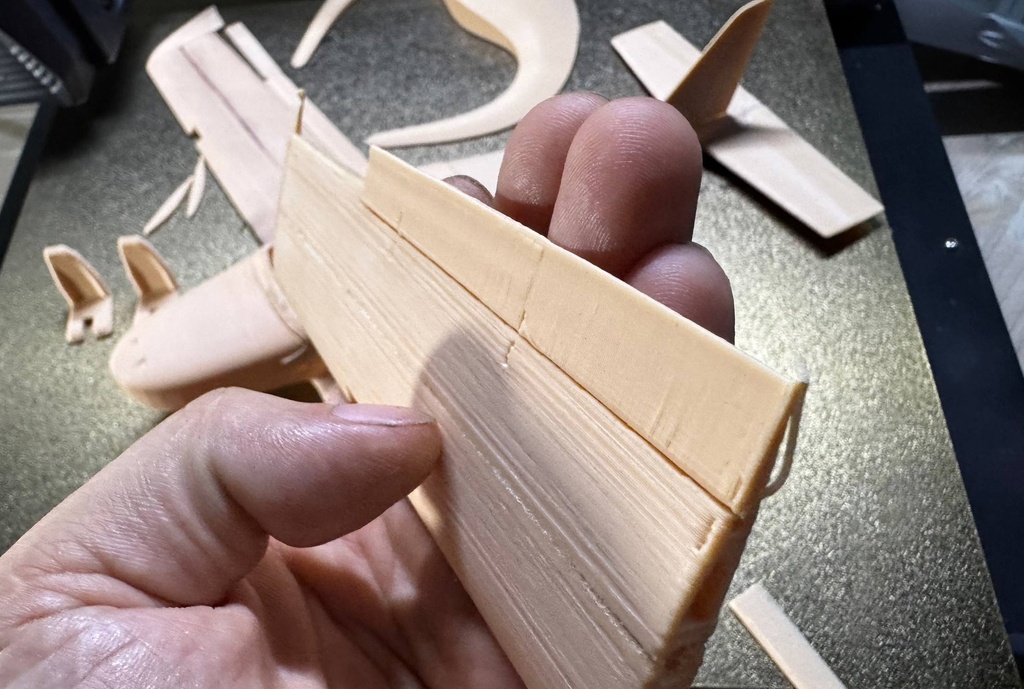
Some small elements, such as the antennas, exhaust pipe, and blades, are best printed on a resin printer, but you can try making them on an FDM printer. However, sometimes its better to make them by hand. The left and right ailerons do not have fasteners and were intended to be glued to the wing, but you can add fasteners yourself.
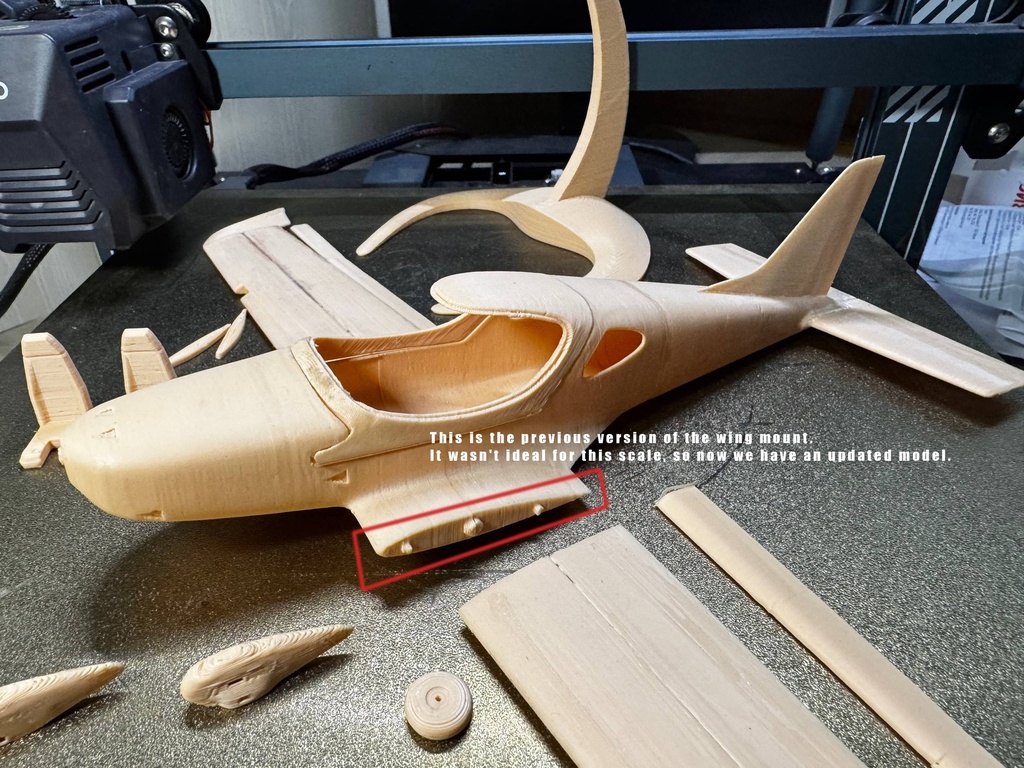
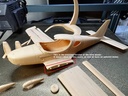
The wings have holes for routing signal wires to the navigation lights. Please note that the photo shows the model with the previous wing mounting option. I had to change it because it wasnt working. Therefore, in the new modification, youll see a different wing mounting option in the form of an insert. This helps set the wing angle.
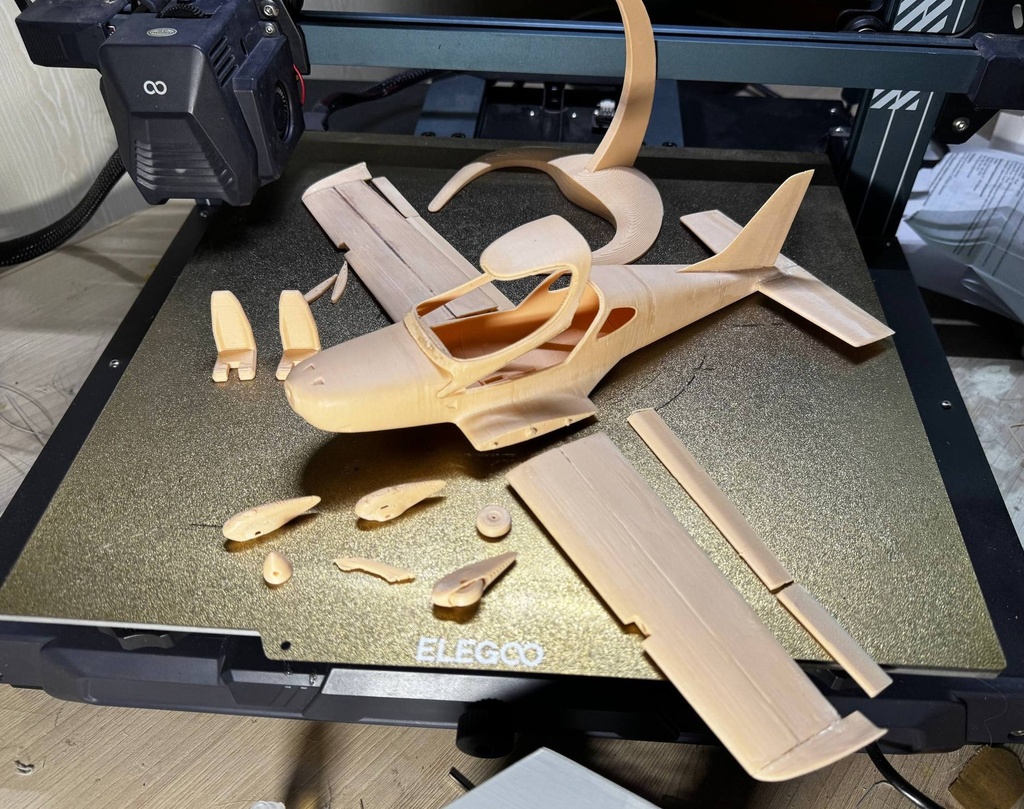
The cockpit has a hinged mount. All mating points are made with pins and holes to facilitate assembly. Please note that the test model was printed with a 0.6 nozzle and has printing inaccuracies when printing small elements.
The recommended nozzle size for the current size is 0.4.
The model is designed for prints of approximately 20-25 cm.
Before printing the canopy, consider whether its practical to have it open. If this isnt necessary, simply glue it in place and sand the joint smooth.
Its best to make the transparent canopy out of clear plastic and use the 3D model of the canopy as a template for heat-stamping. Cut the side windows of the cabin yourself from a small piece of transparent material.
Dont try to print all the parts at once; its best to separate them into individual objects. Simply open the 3MF file and, before printing, delete any unnecessary parts, adjust the wall thickness parameters for your optimal results, and adjust the infill density.
Happy building!